
Here is an old post from my old blog AllTheGlitters. I decided to repost it because I found the tutorial so useful and it was a very popular post. I will be reposting tutorials and other favorite post entries in the future... stay tuned.
What you will Need:
1. Scissors and Flexible Measuring Tape

2. Easy Foam Liner (any color... I got mine in Black)

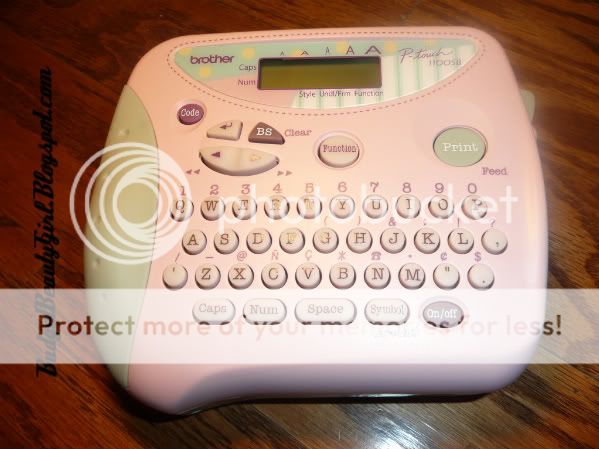
3. Label Maker
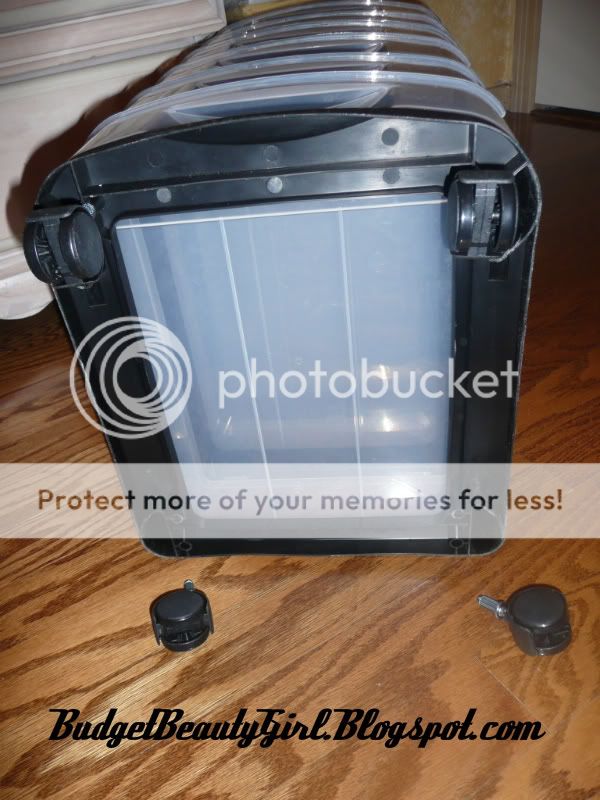
4. Mobile Cart Organizer ( Office Depot 29.99 plus tax)

5. Hammer
6. White Pencil for marking measurements.
Let's begin with the tutorial!
Step 1: Remove stickers and lay cart down.
Step 2: Insert the 4 rollers provided into the 4 slots. These are located at the bottom of your cart. Use a hammer to lightly tap them into place correctly.
Step 3: Sit your cart upright to make sure that it is leveled and that the rollers roll with ease.

Step 4: Take out one drawer to measure for foam mat. (Mine measured 14 x 9.5)
Step 5: Lay out your foam liner and mark it with a white pencil according to your measurements.

Step 6: Cut the foam liner in the measurements taken. Use the lines on the foam as a guide to help make a straight cut. Repeat steps 4-6 until you have a sheet for each of your drawers.
Step 7: Insert sheets of foam into each of your drawers.

Step 8: Place drawers back into their slots and begin to organize your makeup into each drawer. Example: I used the first drawer of my cart for eyeshadows.

Step 9: After you have figured out a place for all of your makeup products, label each drawer! I used a label maker with clear tape to make my labels.


Step 10: Done!
Now if you bought a cart with compartments on top like Califjewls and I then follow the next set of steps to further organize additional products.

Step 1: Measure each compartment.

Step 2: Mark foam with a white pencil and cut left over foam scraps to fit each compartment.

Step 3: Place all foam pieces into corresponding compartments.

Step 4: Organize any additional products as you see fit. Example: I put hand sanitizer, brush shampoo, sharpeners, primers, paint pots, moisturizer and chap-sticks. I also placed a pencil box filled with brushes on top.

Done! Hope everyone enjoys their newly organized makeup!


9 comments:
hey dollface
i just wanted to come by to say hello...love your DIY!!!
Wow! Thats a great idea! Love it :)
great job with this! I just bought a similar organizer (but yours looks better :p)
Thank you for following my blog! :) I love your DIY tutorial. It's so nicely organized and organized. :)
This is smart!
x
never thought to add foam liners into my drawers. great idea!! :) xx
I bought the foam liner at the dollar Store. yay
omg this is awesome!
love the idea.. :)
oh i should try this i have the same cart from an office supply store and i never thought about using those liners to have the products stay in place love it!
Post a Comment